
Google Search Console is a vital tool for monitoring your presence in Google’s search results. So, it is important to set this up as soon as you start a new blog or website. The screenshots below will help you get started and set up Google Search Console for your WordPress blog quickly and easily.
Disclosure: This post contains affiliate links. This means that if you click on a link marked with [AD] and proceed to make a purchase, we may earn a small commission at no extra cost to you.
Why Do you Need Google Search Console?
Google Search Console allows you to have an overview of your appearance in Google Search results, how many impressions you have, for which keywords your blog shows up and at what position. It is a useful tool for identifying which keywords have the potential in ranking higher.
Also, Google Search Console shows you information about the appearance of your site on the Discovery page of Google, while at the same time it flags any issues with your website. Last but not least, you can upload your site map for quicker indexing from Google.
How to Set Up Google Search Console?
It is very easy to set up Google Analytics on your website. Simply follow the screenshots below to connect your site to the tool and start gathering useful data.
Prerequisites:
- Download the Insert Headers and Footers plugin to your WordPress blog.
- Log in to Google using your Google account. If you don’t have one, then I strongly advise you to sign up. You will not only need it for accessing the search console but also many other tools.
Part A: Verify your domain
STEP 1: Visit https://search.google.com/search-console/about.

STEP 2: Click “Start now”.

STEP 3: Write your domain name under Domain and click “Continue”.

STEP 4: Verify your domain by creating a new DNS record.
This step is not the most straightforward as you can’t do it through WordPress but instead, you need to do this through your host or DNS provider. Below I have some instructions on how to do this using Hostgator [AD], but the procedure should be similar for other hosts too. This Google support page may also be useful. Before continuing remember to copy the TXT record Google gave you.
Creating a new DNS record on Hostgator
STEP 4a: Log into your Hostgator Portal

STEP 4b: Access the cPanel

STEP 4c: Go into the Domain section of the cPanel by scrolling down or clicking on the respective section from the left-hand side menu

STEP 4d: Click on Advanced Zone Editor

STEP 4e: Fill in the details to add a new record. Set the type to TXT; in the name add your domain name with a dot in the end (e.g. example.com.); in the TTL write 86400, and in the TXT data paste the code that Google Search Console gave you. Finally, click “Add Record”.

STEP 5: Go back to Google Search Console and click “Verify”.

If you get a message like the one below, don’t worry, as this method takes some time to verify. Click “OK”, then “Verify Later” and come back later, or even tomorrow to check again. See step 5a below on how you do this. In the meantime, you can verify your website using a URL prefix. Go to step 6 to see how to do this.

STEP 5a: Go to the overview page of Google Search Console and click on the bottom arrow right above the Overview tab on the left-hand side menu.

STEP 5b: Click on the Not Verified Domain entry you see there.

STEP 5c: Click “Verify”, and wait for the result. If it shows the same message as before, try a couple more times (give it a maximum of 72 hours) before trying to do this again. Otherwise, it should show a success message, like the one below.

Part B: Verify URL prefix
STEP 6: Click “Add Property” from the property list menu accessed by clicking the arrow above the Overview tab.

STEP 7: Enter your full website URL as the example shows and click “Continue”.

STEP 8: Verify your URL using one of the methods given. I recommend using an HTML tag.

STEP 9: Copy the HTML tag by clicking “Copy”.

STEP 10: Open the WordPress Dashboard of your site and navigate to the Insert Header and Footers Plugin (you can find it inside the Settings tab in the toolbar on the left-hand side of the screen).

STEP 11: Paste the code you copied earlier under Scripts in the Header area.

STEP 12. Go back to Google Search Console and click “Verify”.
Make sure that you don’t have an under-construction page turned on from a third party as the meta tag may not be verified.

STEP 13: Now you should see that your URL is verified. Click to “Go to Property”.
Note: You can follow steps 6 to 13 to add as many URL prefixes to your domain you want. For example, if you want to add both the HTTP and the HTTP versions of your website, or the URL version with www to the front and the one without. (e.g. https://www.example.com; http://www.example.com; https://example.com; http://example.com)
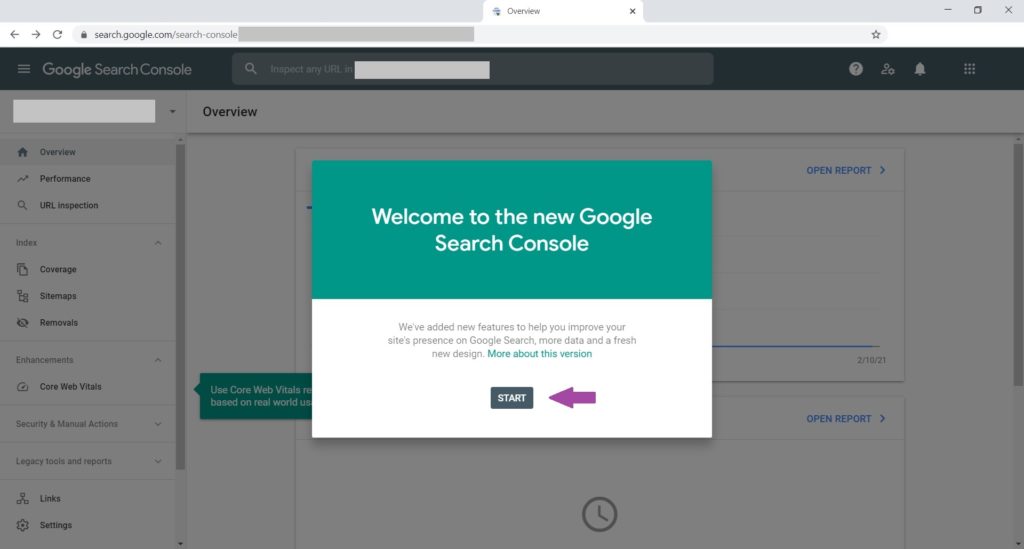
STEP 14: Click “Start” and access your Search Console Page.
Conclusion
Now that you have set up Google Search Console, it’s time to start working on your blog’s SEO and start monitoring your results using this tool.
We hope you could easily follow the instructions, otherwise, let us know in the comments how we can improve.
If you are reading this guide because you are following the How to Start a Blog guide, then the next step is to set up Bing Webmaster Tools for your blog.
Save this post for later!